New rigging
It is amazing how fast you can spend money when you own a boat. Each project I find myself saying, “Well, since we are doing ‘x’ we might as well do ‘y’ while we are at it…”. We really didn’t know for sure how old the rigging was on Agape, or how she had been previously sailed. The rigging was oversized as it is on most cruising boats and seemed to be in fairly good condition but we wanted to know for sure before cruising the next few years.
We were fortunate enough to meet Ian Weedman a few years back while traveling around Costa Rica. At the time he was building a tree house at Finca Belavista, a tree house community outside Golfito. Turns out Ian is not only an amazing treehouse builder but also an accomplished rigger! Since we knew and trusted him, we had Ian do a rigging survey for us before we made a decision to change out all standing rig. During his survey he found a few things that usually would not be a big deal, like our forestay needed to be shortened and our backstay would need insulators added for our single sideband. Then we finally checked the compression post where we found some rusting and standing water at the base. After some questions about the compression post and deciding that since the forestay and backstay needed to come down why not pull the stick and go for it!

Ian’s view from up the rig.
Rust found at the base of the chain plate.

Ian inspecting our rigging.

Standing water found at the base of the compression post before we created a drainage hole.
We thought long and hard about replacing the rigging. It could more than likely make it around the world and be just fine, but maybe not. Since we didn’t know how old it was and we knew we would be adding 5/6 years of hard sailing to it, we played it safe and decided to go with new standing rigging.
The night before we showed up to the yard I marked where the turnbuckles were set. Then I pulled the clevis pins and loosened the rig a little just to make sure we did not have any seized turnbuckles. We pulled the pins out of the cotter pins and set them back in with out bending so they would be able to be quickly pulled the next morning. This ended up saving us quite a bit of money at the yard since everything was ready to go when we got to the dock.
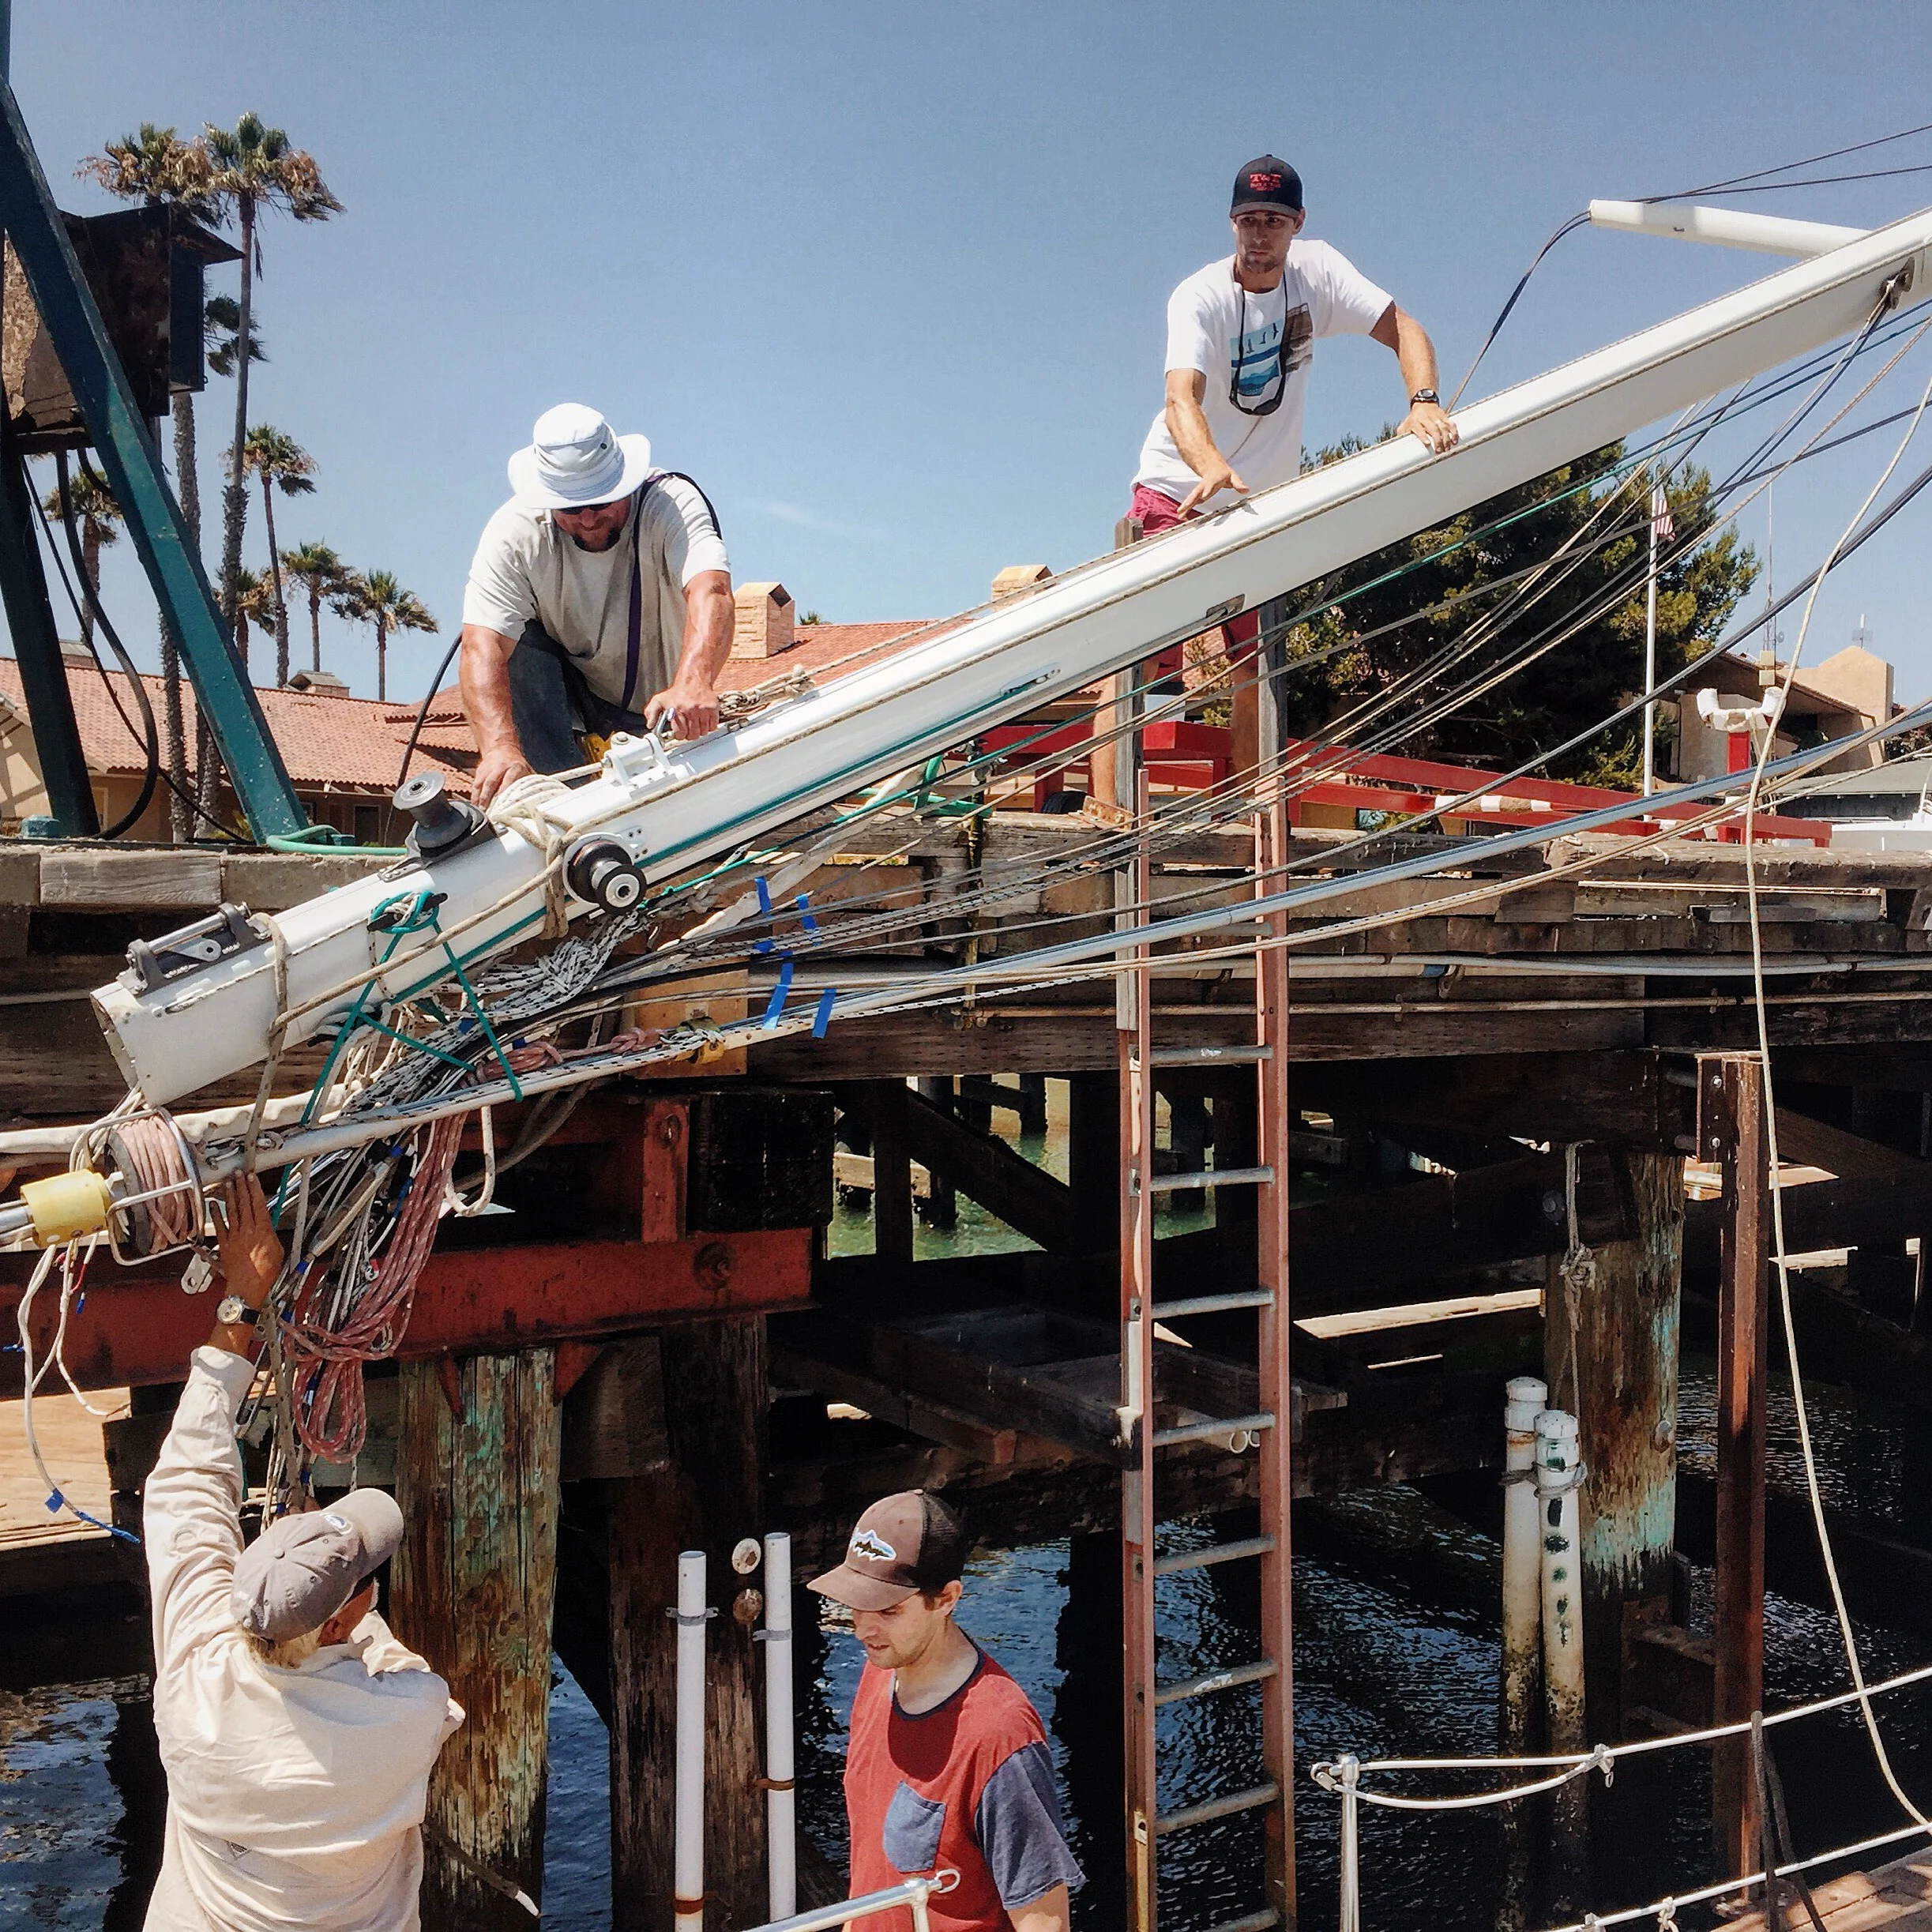
At 8am we were at Ventura Harbor Marina & Yacht Yard's crane dock ready to have the rig pulled. From the time the two yard guys showed up until the time the rig was in the cradle only took 24 minutes! Then came the fun part of pulling all the wire off the mast and measuring it. This is were I owe Ian big time!!! I called and texted him with a ton of questions and asking his advice. I am forever indebted to him for being so patient with me and taking the time to walk me through all the different steps.
Once we had all the rigging labeled and removed, it was time to measure. There again Ian pointed us in the direction of a good rigging measurement template from the helpful folks at Port Townsend Rigging. We gathered all the rigging and measured it one by one. We did one shroud followed by its counterpart to see how close in length they were, since in theory they should be the same, but as with everything on a boat no opposing side is quite identical but should be very close. I ended up measuring all the rigging twice on the first day just to be sure. Then on day two, using a different metal tape we measured it all again for a third time just to be safe. I was very nervous when doing this because making a mistake here would cost us quite a bit of money, as well as the possiblity of delaying our launch.

To measure each shroud we laid the wire straight, using the grooves in the concrete to help us lay the wire straight. Running the tape we measured from center of the lower toggle to center of the upper swage (or other terminus), making sure that we had set our turnbuckles to what they were set to when the rig was up.
So, after measuring three times we sent off our measurements to the rigging loft to be swagged.


Our rig is as follows:
Our Jib was on a ProFurl furler when we bought the boat and the staysail was on a self tacking boom with a hank on sail. Though we liked the boom for the staysail, as I believe it gives the sail better shape we wanted to change it to a furling unit to give us more deck space. We did this after considerable thought to cost, advantage vs disadvantage and how we would run the lines. For us to be able to run lines for this additional fuller would mean a bit of work.
Adding a thickened epoxy to the base plate.
In the end we added the stay to a fuller unit, not only to give us more deck space but because we are counting on this sail to be used in heavier weather and wanted the ability to set and reef it from the cockpit. On Agape the lines are not all lead to the cockpit, we have to go forward to raise and reef the main, but going to the mast and going the 15” or more to the inner stay when the decks are awash and the boat is pitching are two different things. It opens up the foredeck and enables us to keep our dingy inflated on deck. So we are very happy with our decision.
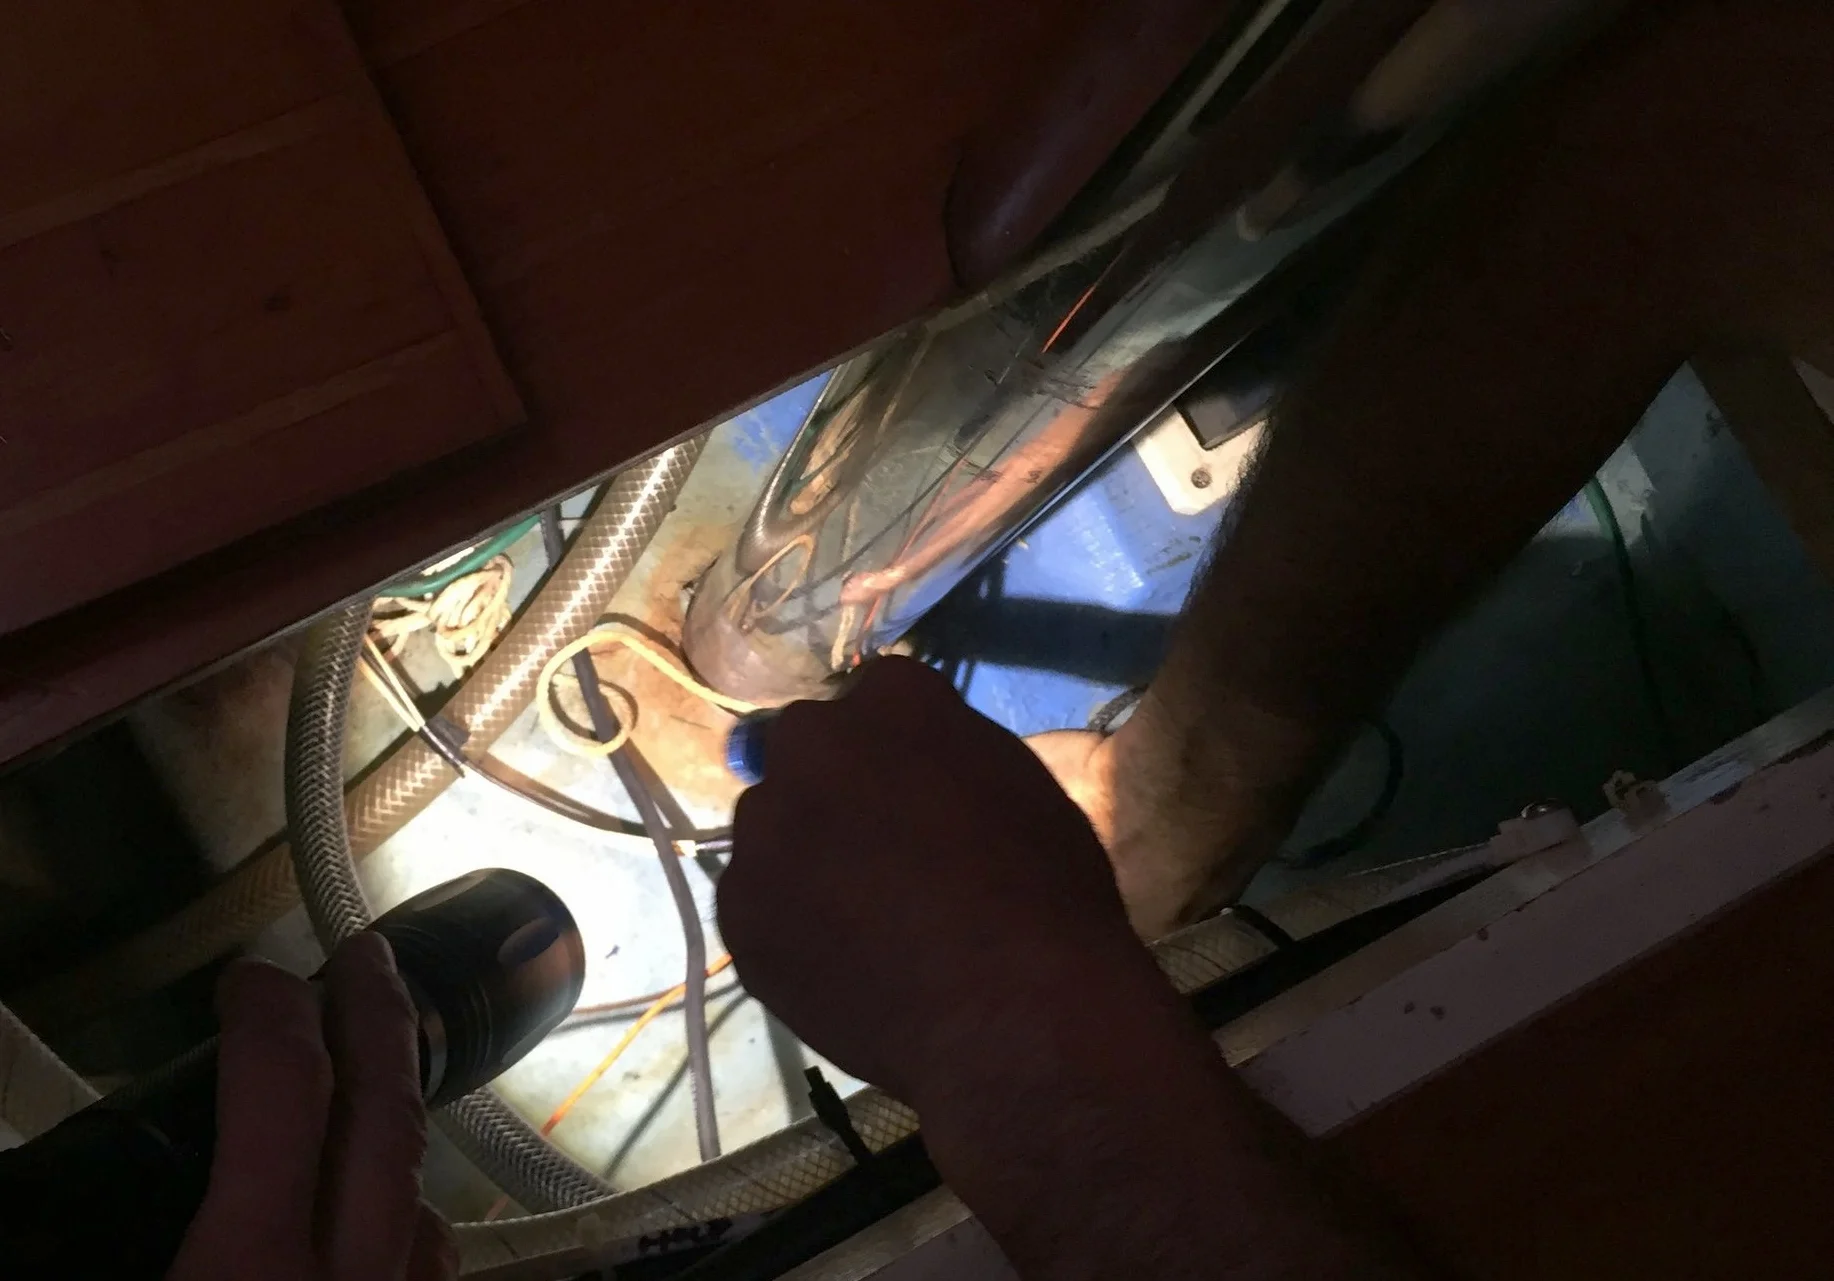
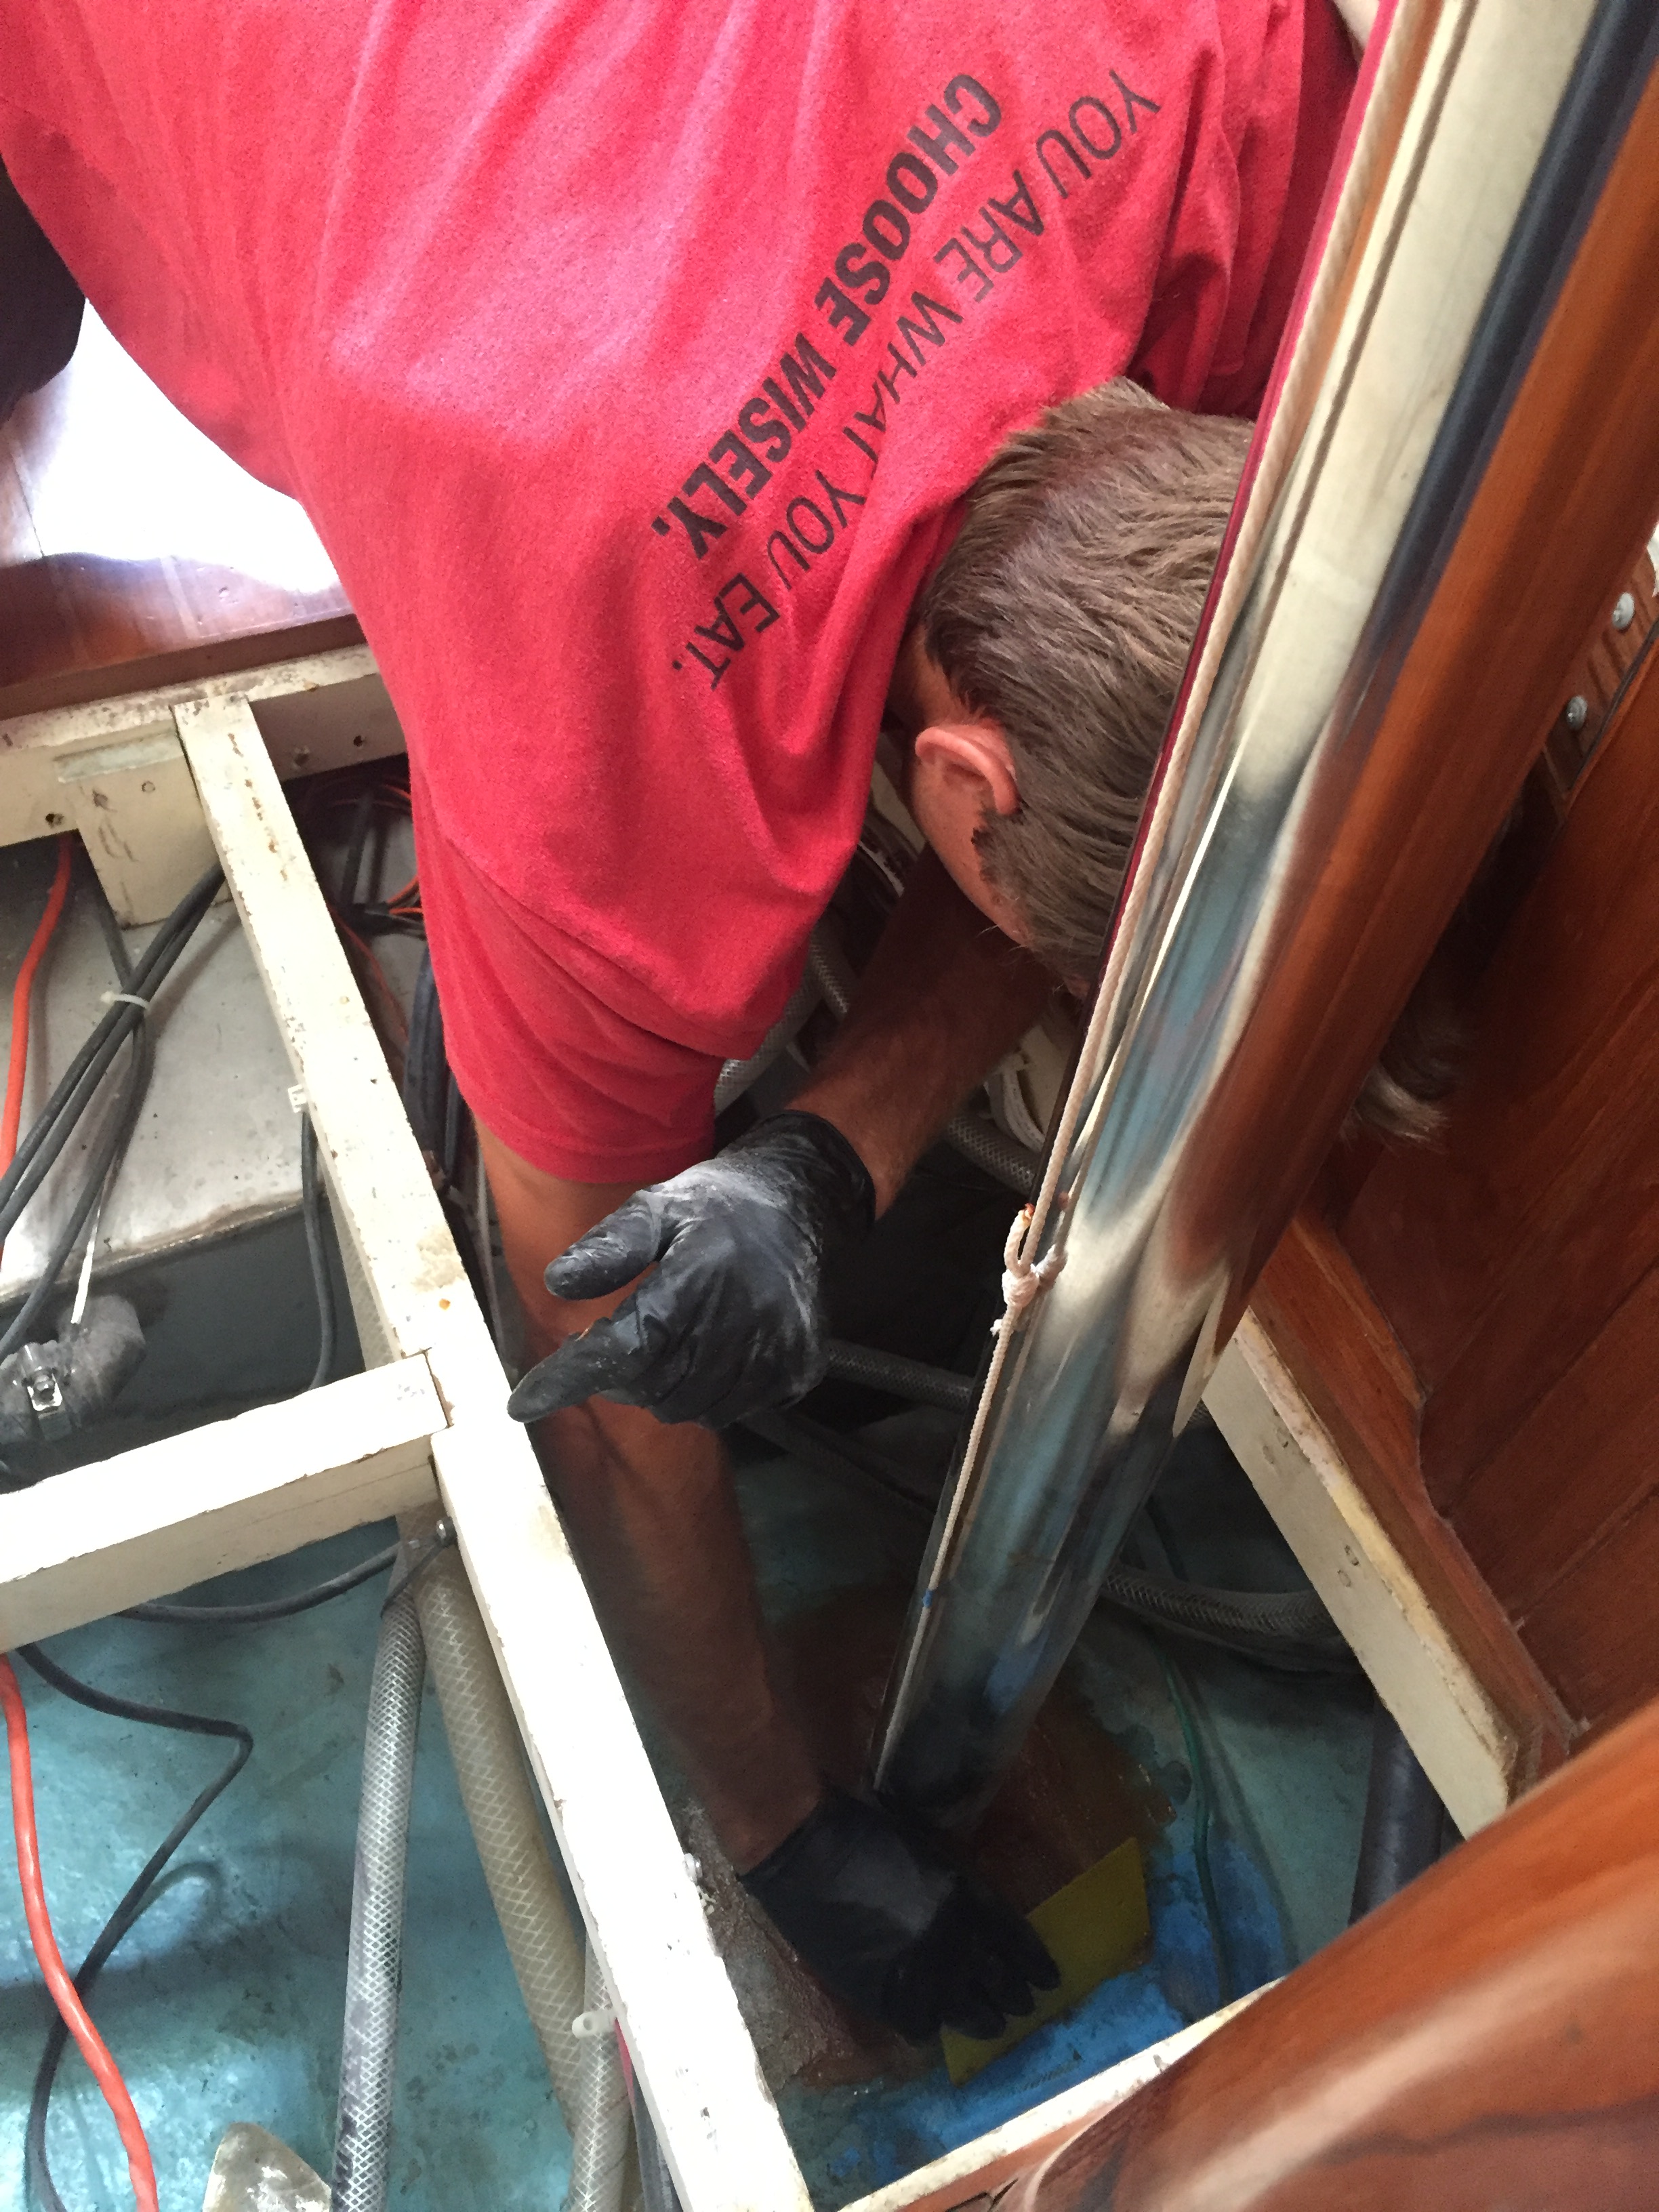
While the rig was down it was a great time to inspect the compression post. The bottom of the post is glassed into the top of the keel so it took quite a bit of grinding to uncover the bottom plate. I also drilled a 1/4” hole in the base to allow any water to drain. By shining a light through this new drain I was able to visually inspect the pole. I also was able to now measure its thickness to verify that it was still able to take the loads of the rig. The stainless post had been welded to a mild steel base plate, that with the water had caused it to rust. We wire wheeled the base, painted it with a rust inhibiter and then we added 4 layers of glass over the top to seal it back in place. We then fared it with a little epoxy and now it is better than new!!
We got all our new rigging about two weeks after we placing our order and were so happy. It not only was beautiful and shinny, but it was all done beautifully…. AND FIT!!!! When the rig went up all the rigging was perfect!!!
We used a loos gauge and sighting up the mast to bring it all close, then had a local rigger come to double check our work. After a couple of sails out to the islands and back, tacking around running it under sail I am now happy and confident in our rig and know that it can handle anything we through at it!!!

Again, huge thanks to Ian Weedman for everything!
If you need any rigging advice or a complete re-rig he is the man to talk to.