
fridge reinsulation
While cleaning the fridge after our island trip I noticed the bottom panel was flexing and could hear water under the sheet metal... uh-oh...well poop!!! So I figured the only thing I could really do was to make an incision in the floor panel and try and diagnose the severity of the issue.. As soon as I made the cut, water started gushing out. Sorry, I know it's a bad picture but you sort of see the cut and the water starting to pool. And so begins another project!
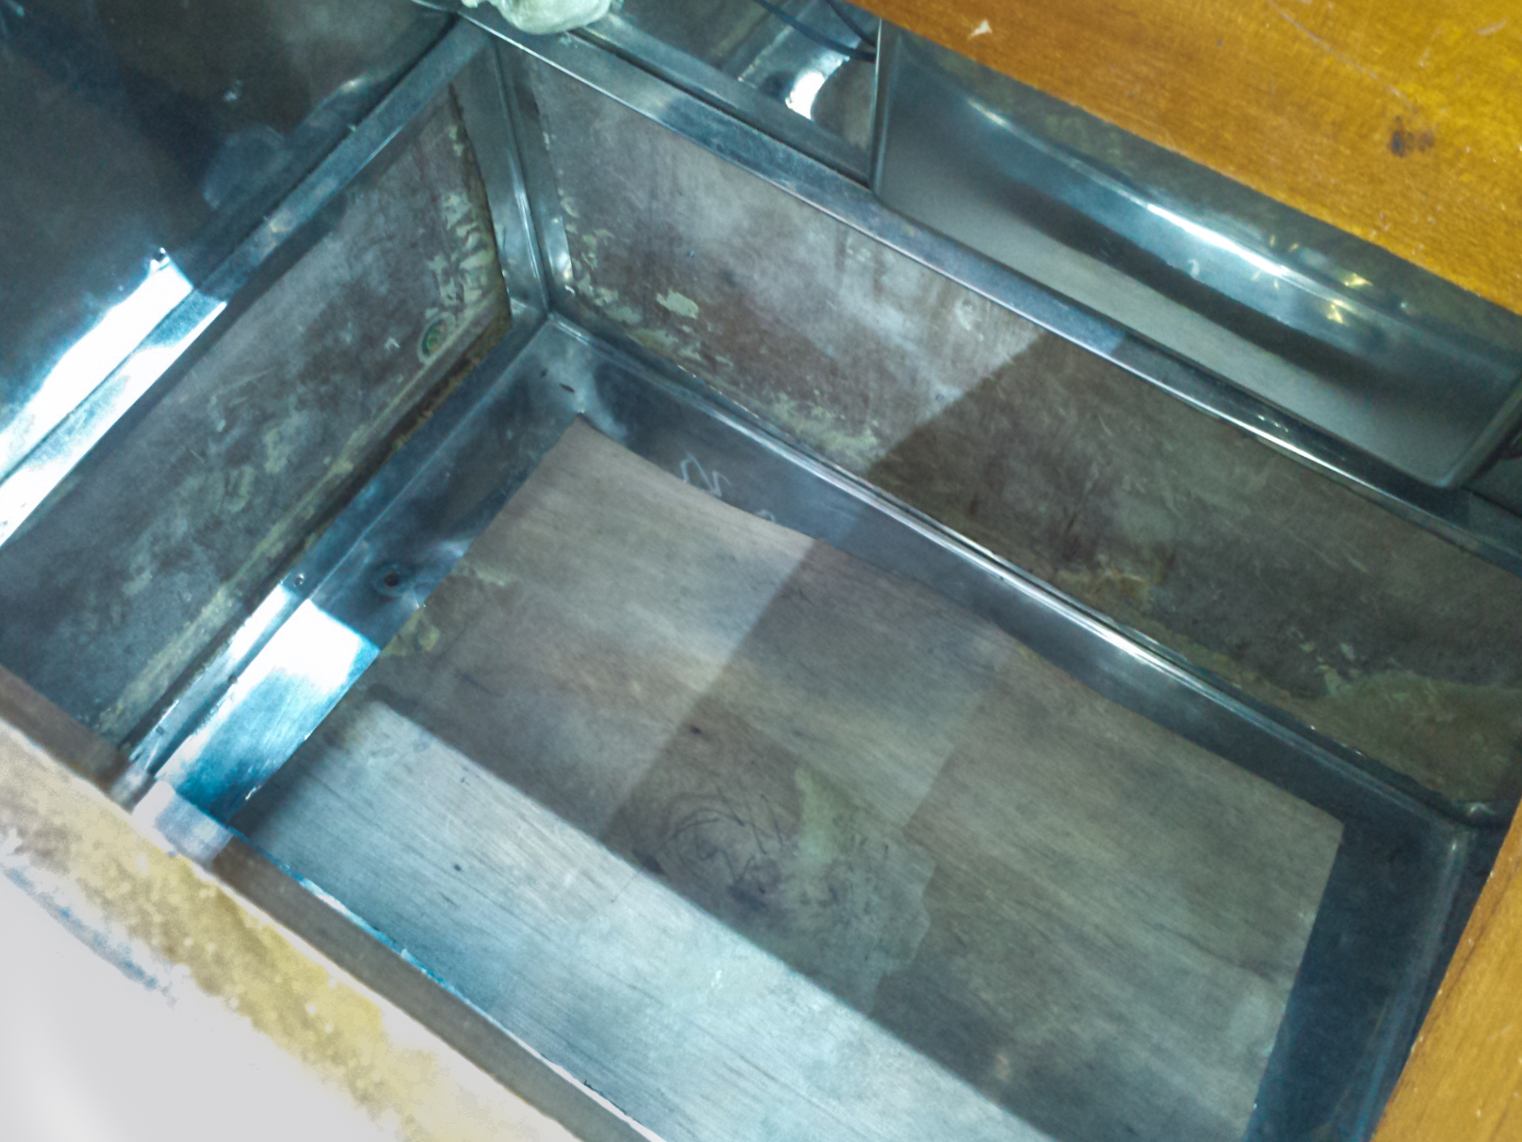
I then cut out a square from the floor panel to determine the condition of the foam. It was soaked. It all made sense… it was no wonder we couldn't get it to stay bellow 47 degrees. Water is a terrible insulator! I thought I could possibly salvage the foam, so I left it like this for the night, hoping it would dry with a large fan circulating air inside. As you can probably guess, my attempted salvage operation was a flop. In the morning the foam was still soaked.

Bottom of the fridge with a puddle of water.

Cutting out the base of the fridge.
The cut out became larger and larger, until I had to do it…. I finally had to come to the realization that it all needed to go, I was going to have to rebuild the whole damn thing.
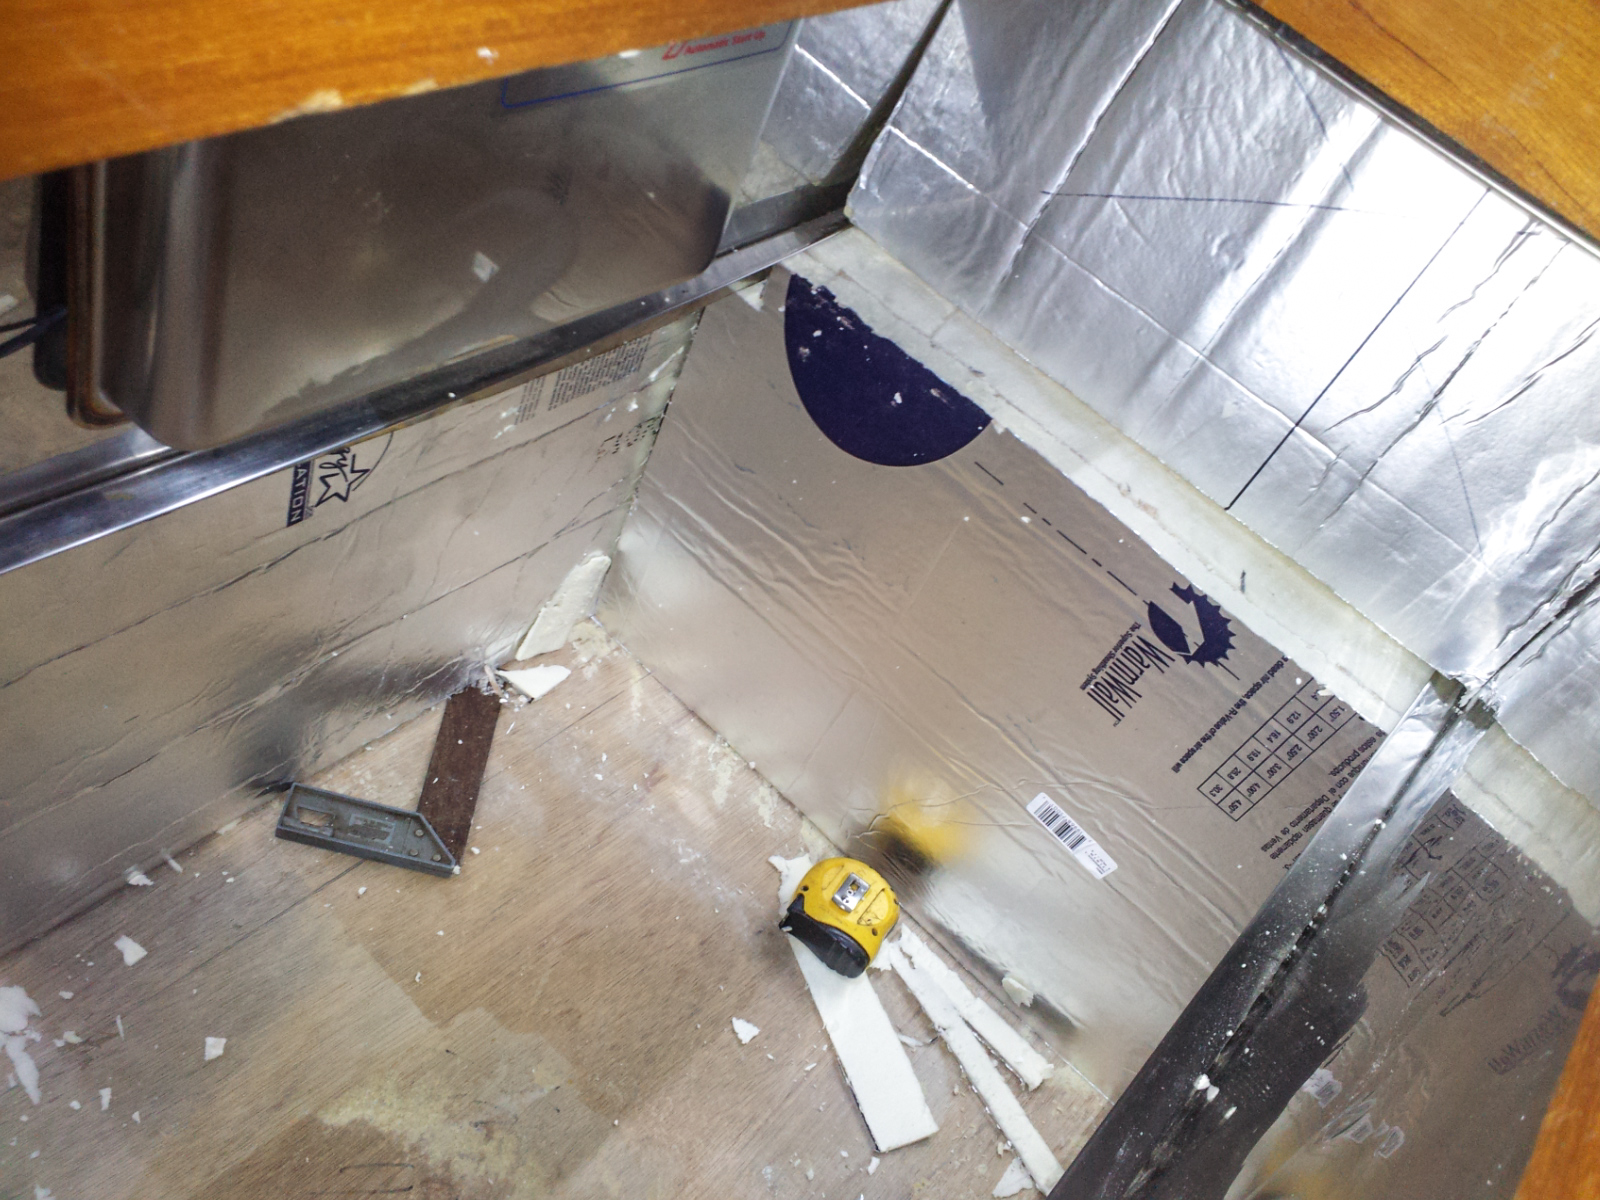
I found the original foam insulation had been installed in two layers, miraculously the moisture had not penetrated from the first layer to the second or to the wooden box of the fridge, it was still in great shape. After I finished cutting out the bottom, I began scrapping it clean of all foam and slowly worked my way up the sides until all the wet foam was removed. For the most part, the sides where dry, but decided I might as well cut out everything from below the lip of the shelf to make the reinstallation easier.

Stainless panel out, time to remove the old insulation.

I thought about using the metal frame as a reference/ support to rebuild… but in the end it went too.

I went back online to learn as much as possible about foam insulation and how to improve upon our fridge design. I have to say, I was really impressed with the original instillation of fridge and the insulation done by the factory. It had 6 inches of foam on the bottom and 4 inches on the three interior sides, and 6 inches on the hull side. I have no way of knowing what "R" rating the original foam was, but, I will include all the details of the new installation materials. We went with a rigid foam board found at Home Depot called "R-Max". Mostly because it had the highest insulation rating of R-6, per one inch of insulation. It also said it was resistant to moisture and water vapor. To glue it in place we used an aerosol expanding foam, sounds like a weird thing to use as glue, but it worked great.
We also decided to make the refrigerator a little smaller by adding an inch and a half of extra insulate to each interior side and the bottom, as well as adding two inches to the hull side. We have an Isotherm 3701 ASU Air Cooled Refrigeration Component System, that is designed to cool up to 7.1 cubic feet. Even though our fridge will still be slightly larger it should work great with the new insulation.
I also removed the drain hole, filling it in and covering it with foam. This helped tremendously with the insulation! Cold air sinks and having a drain at the bottom lets all the cool air spill out. The down side now, is that we will have to clean out the condensation collecting at the bottom of the fridge more often.
Installing the new foam, as well as adding an additional 2 inches.

I did one wall at a time, gluing in the insulation and then capping with a fiberglass board, the kind that you see in shower stalls. I did so, as not to worry about having to make two cuts perfect. One cut would be covered by the next wall being built up. To join and seal the edges of the FRP board I used a generous amount of 3M's 5200. That 5200 is awesome, but permanent, so only use it on things you never want to move again. Make sure you let it completely set before messing with it.
I totally went over board because I never want to do this again! After all the walls were in and covered, I put in a piece of aluminum angle iron around the edge and glued it down with a ridiculous amount of 5200. Then painted the inside with a marine epoxy paint to guarantee that there were no spots missed. We gave it two days after being painted to ventilate and ensure it was totally dry. Finally the day came to turn the bad boy back on and see if it all was worth it….
All my hard work had paid off! It now runs at 34 degrees when empty on it's most economical setting. Yeeeahhh!!! If we really wanted to, we could even use it as a freezer!

The finished interior.

New paint job and weather stripping on the fridge lids.
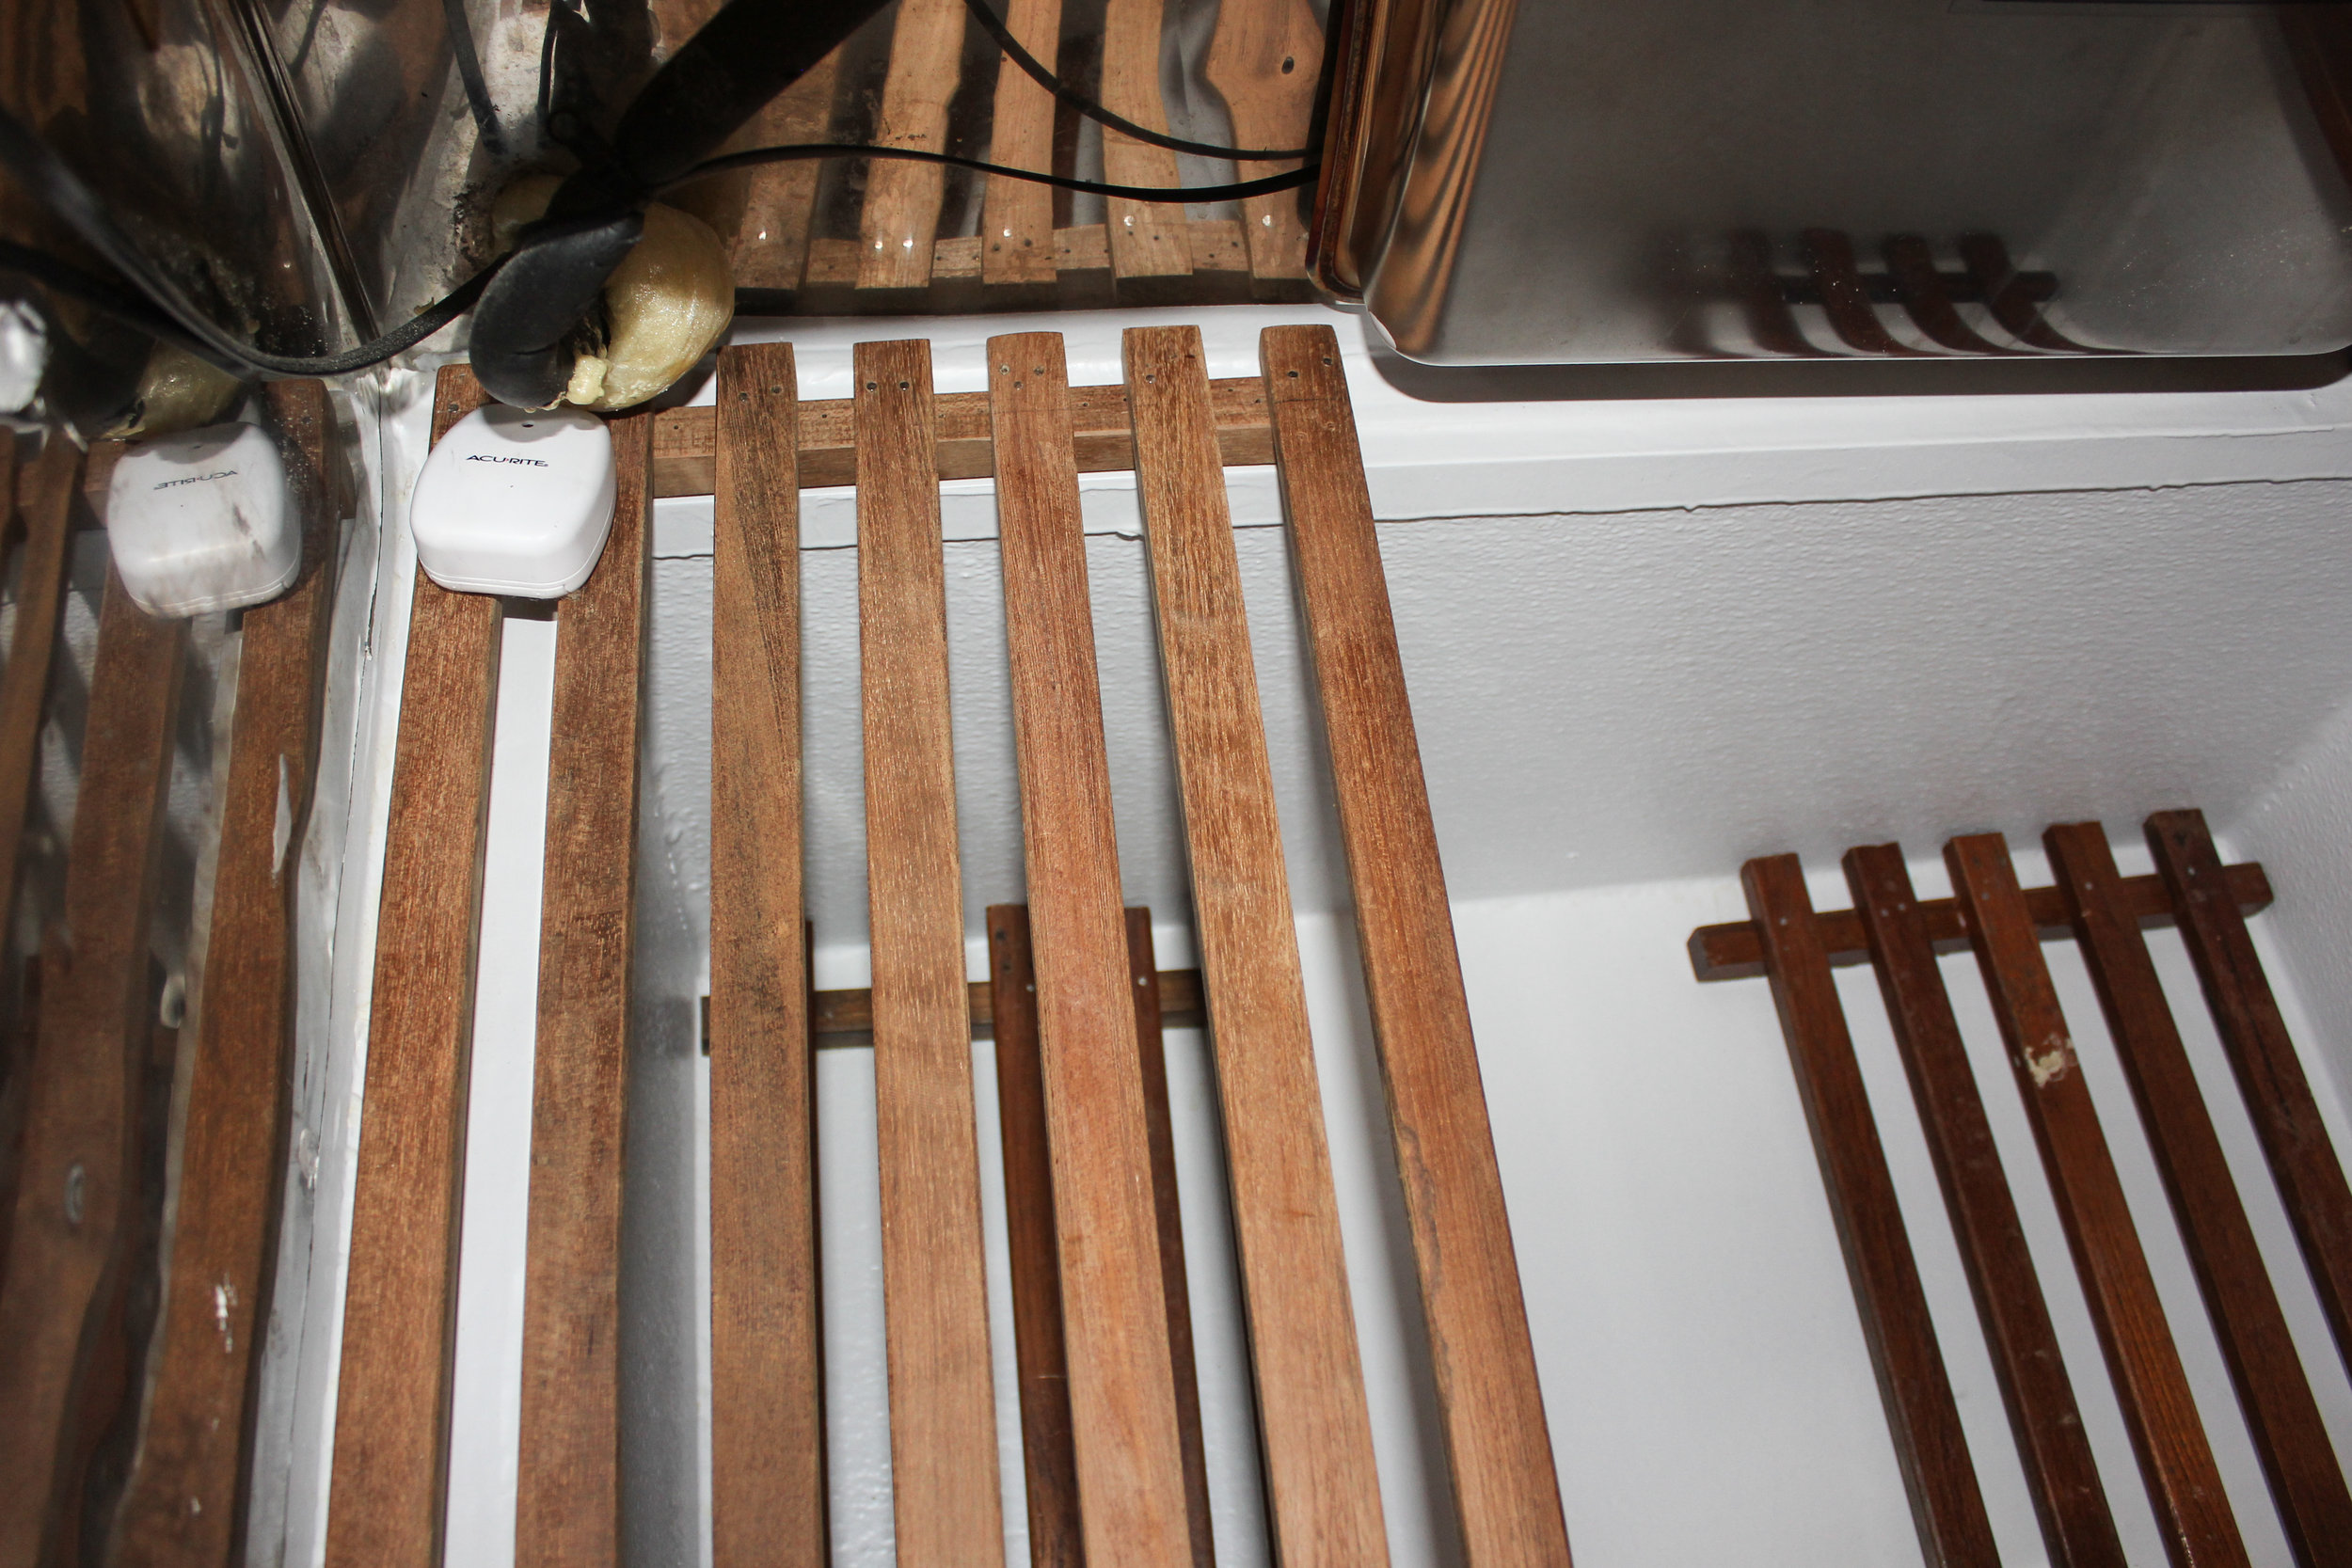
New Interior.
Materials and Cost:
Foam........................….~$100.00 (totally overkill on the insulation and had plenty to spare.)
FRP board........................….$35.00
3M 5200 (2).....................…..$24.60
Great stuff spray foam (3)......…..$15.00
Paint...........................…..$24.00
So all in all it cost us around $200.00 and a ridiculous amount of time. About half way through installing the new foam, I was pretty over it. I was so sick of being stuck working in that cramped space, I would try to come up with any excuse possible to postpone finishing. I worked about 40 hours on the fridge and yet somehow it took more than two months to finish. But FINALLY it is FINISHED! We learned a lot and our fridge now works great. Hopefully we won't ever have to do that again.